TL;DR:
- Handcrafted bracelet techniques include knotting, macramé, wire wrapping, and beading, each influencing a bracelet’s style and durability. Proper finishing with glue, crimping, or knot choice is essential to prevent failure and ensure longevity. Mastering basic knots like the square and surgeon’s knot provides a strong foundation for all bracelet types.
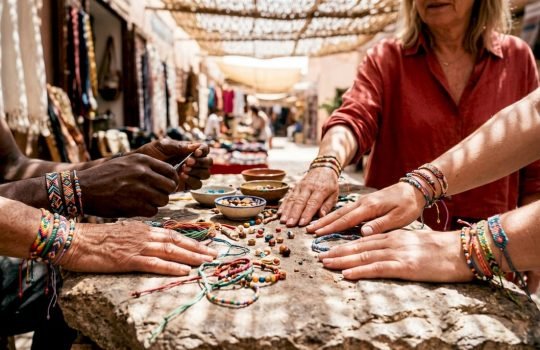
Types of handcrafted bracelet techniques are specialized knotting and crafting methods that define the style, durability, and function of every handmade bracelet you create. From friendship bracelets built on half-hitch knots to wire-wrapped designs finished with crimp beads, each method demands different materials, tools, and skill levels. Whether you’re making a gift or building your own collection, choosing the right technique from the start saves time and produces a cleaner result. This guide covers the most popular bracelet making methods, explains their knotting foundations, and gives you practical finishing tips for each.
1. What are the main types of handcrafted bracelet techniques?
Handcrafted bracelet techniques fall into five core categories: friendship knotting, Shamballa macramé, macramé bead construction, elastic cord knotting, and wire wrapping. Each category uses a distinct set of knots, materials, and finishing steps. Understanding which category fits your project is the first decision you make as a maker. The technique you choose determines not just the look, but how long the bracelet lasts and how it fits on the wrist.
Friendship bracelets rely on embroidery floss and diagonal or horizontal knots. Shamballa and macramé styles use waxed cord and square knots around central beads. Elastic cord bracelets prioritize stretch and knot security. Wire-based bracelets use metal, crimps, and pliers instead of knots entirely. Knowing these distinctions helps you match the right craft technique to your goal.
2. What are friendship bracelet techniques and their key knotting styles?
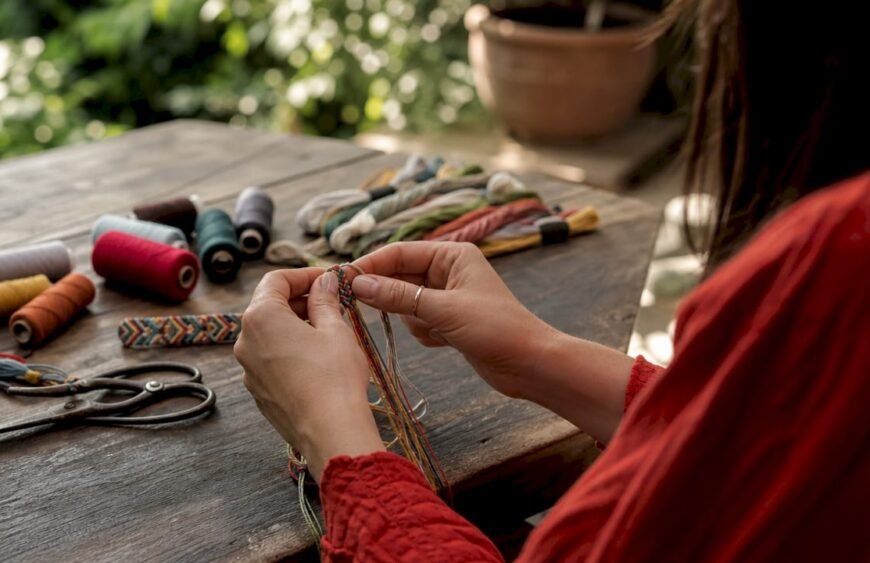
Friendship bracelets are the most widely practiced form of hand knotting. Knotting direction shapes the design: “normal” bracelets tie knots diagonally to create geometric patterns, while “alpha” bracelets tie knots horizontally to produce letters and symbols. That single difference in direction unlocks two completely separate design worlds.
The half-hitch knot is the building block of both styles. You tie two half-hitches in the same direction to create a full forward or backward knot, and the sequence of those knots across multiple strands builds the pattern row by row. Popular patterns include:
- Chevron: Forward and backward knots meeting at the center, creating a V shape
- Candy stripes: All forward knots across a set of parallel strands
- Hearts: A combination of forward and backward knots arranged in a specific sequence
- Ladders: Alternating knot directions to create horizontal bar effects
Embroidery floss is the standard material. It comes in hundreds of colors, costs very little, and holds knots cleanly without slipping. Most makers use 6 to 8 strands for a standard width bracelet.
Consejo de experto: Keep your knot tension consistent throughout the bracelet. Loose knots create gaps in the pattern; overly tight knots cause the bracelet to curl. Practice a single row of chevron on scrap floss before starting your main piece.
3. How does the Shamballa bracelet knotting technique work?
The Shamballa bracelet is built on the macramé square knot, repeated consistently around two central carrier cords. Square knots form the foundation of the Shamballa style, with beads placed between knot clusters to create the signature look. The process follows a clear sequence:
- Cut two long working cords and two shorter carrier cords.
- Fold the working cords around the carriers and secure them to a flat surface.
- Tie a square knot by crossing the left cord over the carriers, then the right cord over the left, pulling both ends through.
- Repeat the mirror image to complete one full square knot.
- Slide a bead onto the carrier cords and tie another square knot cluster directly after it.
- Continue the bead-and-knot pattern until you reach the desired length.
- Finish both ends with a sliding knot adjustment mechanism so the bracelet fits any wrist size.
- Seal all knot ends with a small drop of jewelry adhesive.
Knot consistency directly affects the bracelet’s visual symmetry and how smoothly the sliding closure operates. Uneven knots create lumps and make the slider stick.
Consejo de experto: Practice the square knot 20 times on scrap cord before starting your bracelet. Your hands need to build muscle memory for consistent tension. Waxed cord grips better than unwaxed and holds knots more securely.
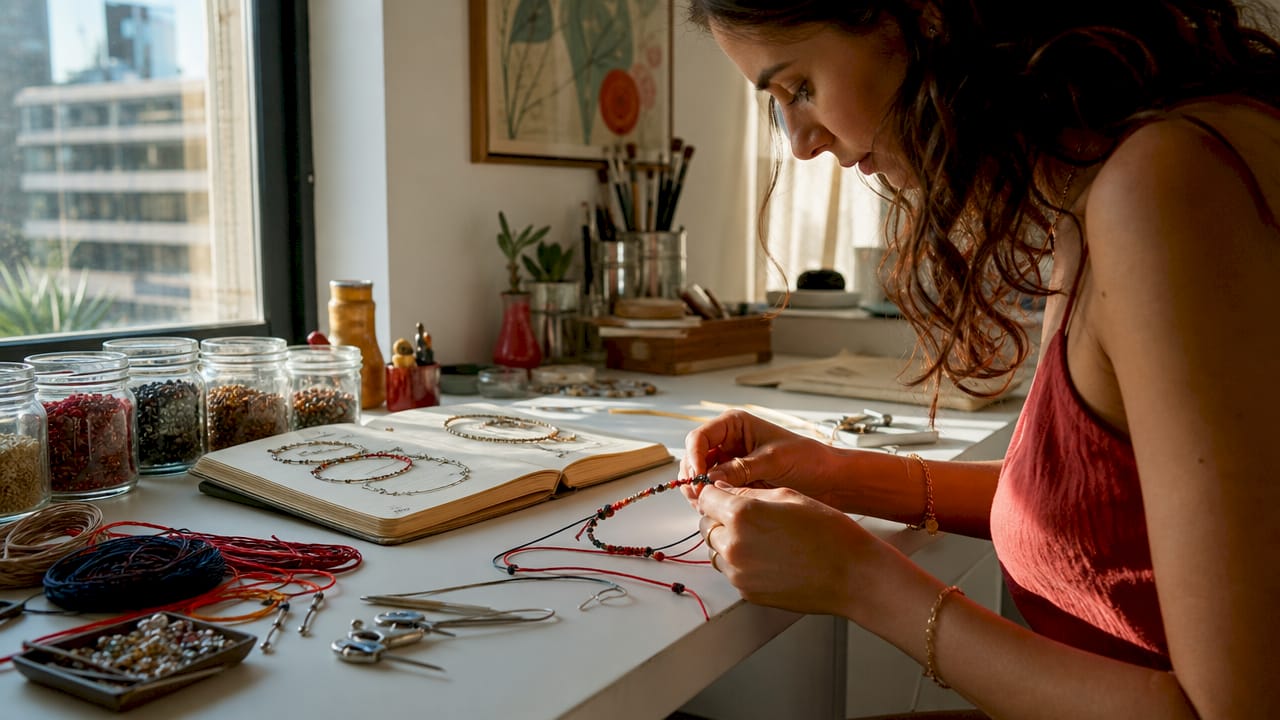
4. What should you know about macramé bead bracelet techniques and finishing?
Macramé bead bracelets combine knotting with bead placement on a working board, and the finishing process is what separates a professional result from a rough one. Anchoring cords with bulldog clips on a foam or cork board keeps tension uniform across every knot. Without that anchor, knots shift and the bracelet ends up uneven.
The finishing steps matter as much as the knotting itself:
- Thread your cord through the final bead and tie your closing knot.
- Slide a crimp tube over both cord ends where they meet.
- Flatten the crimp tube with flat-nose pliers to lock the cords in place.
- Apply a small amount of hypo cement glue to the knot and crimp area.
- Allow the glue to set for approximately 15 minutes before handling.
- Leave the bracelet undisturbed for a full 24 hours for complete curing.
- Trim any excess cord flush with the crimp using sharp scissors.
| Finishing method | Best for | Drying time |
|---|---|---|
| Hypo cement glue | Knot sealing and cord ends | 15 min set, 24 hr cure |
| Crimp tube | Cord loop closures | Immediate (mechanical) |
| Crimp bead | Single-strand lightweight pieces | Immediate (mechanical) |
Crimp tubes provide higher grip than crimp beads and work best for multi-strand pieces. Crimp beads with flat-nose pliers are sufficient for lighter single-strand designs.
5. What are the best knotting and finishing techniques for elastic cord bracelets?
Elastic cord bracelets are popular for their easy on-and-off wear, but they fail faster than any other bracelet type when knotted incorrectly. The overhand knot is inadequate for elastic cord because repeated stretching causes it to unwind. The fix is straightforward: use a surgeon’s knot instead.
The surgeon’s knot adds a second pass through the overhand loop before tightening. That extra wrap creates internal friction that resists the rotational forces elastic cord experiences during wear. Combined with adhesive, it holds far longer than a standard overhand knot.
Key practices for elastic cord bracelets:
- Use the surgeon’s knot as your standard closure, not the overhand knot
- Apply a drop of jewelry glue directly to the knot before pulling it tight
- Pull the knot into a bead hole to hide it and reduce stress on the knot
- Choose cord with a braided outer sheath rather than a bare latex core for better durability
Elastic cords with latex or rubber cores degrade under skin oils, UV light, and repeated stretching. Inexpensive bare elastic develops micro cracks at the knot point first. Braided elastic cord resists this degradation significantly longer.
“Knot choice must align with cord material properties. Elastic cords require knots that resist rotational forces. Otherwise, bracelets break prematurely.” — Breaking AC News
6. How do wire and bead bracelet techniques differ from knotting methods?
Wire-based handcrafted bracelets use metal wire, crimp beads, and pliers instead of fiber knots. The core skill is crimping rather than tying. You thread beads onto wire, loop the wire through a clasp, fold it back through a crimp bead, and compress the crimp with a specialized crimping tool. A two-stage crimping process with a bead crimper tool creates stronger, cleaner connections than a single flat squeeze.
| Feature | Wire and bead bracelets | Knotting-based bracelets |
|---|---|---|
| Core skill | Crimping and wire looping | Knot tying and tension control |
| Main tools | Crimping pliers, wire cutters | Scissors, board, clips |
| Materiales | Beading wire, crimp tubes, clasps | Embroidery floss, waxed cord, elastic |
| Durabilidad | High with proper crimping | Varies by knot type and cord quality |
| Design flexibility | Bead variety and wire gauge options | Pattern and color combinations |
| Beginner friendliness | Moderate | High for basic styles |
Wire wrapping is a related technique where you coil wire around itself and around beads or stones to create decorative connections without any mechanical hardware. It requires round-nose pliers and practice to produce clean loops. Wire-based methods generally produce more structured, rigid bracelets. Knotting methods produce softer, more flexible wear. Both are legitimate craft techniques for cord bracelets and wire work, and many makers combine them in layered bracelet sets.
Key takeaways
The most durable handcrafted bracelets result from matching the right knot type to the cord material, finishing with adhesive or crimps, and maintaining consistent tension throughout construction.
| Punto | Detalles |
|---|---|
| Match knot to material | Elastic cord needs a surgeon’s knot; macramé cord works best with square knots. |
| Finish every bracelet properly | Use hypo cement glue or crimp tubes to seal ends and prevent unraveling. |
| Board setup improves consistency | Anchoring cords on a working board keeps knot tension uniform from start to finish. |
| Knotting direction defines design | Diagonal knots create patterns; horizontal knots create letters in friendship bracelets. |
| Wire crimping requires two stages | A two-stage crimp with a bead crimper tool produces stronger wire bracelet closures. |
What I’ve learned from years of watching bracelets fail
Most beginner bracelets fail at the finish, not the knot. I’ve seen beautifully knotted friendship bracelets fall apart within a week because the maker trimmed the ends too short and skipped the glue. The knot itself was fine. The finish was the problem.
The second most common mistake is using the wrong knot for the cord. An overhand knot on elastic looks identical to a surgeon’s knot from the outside. But one holds and one doesn’t. That difference only shows up after a few weeks of wear, which is exactly when you want the bracelet to still be on someone’s wrist.
My honest recommendation: master the square knot and the surgeon’s knot before anything else. Those two knots cover Shamballa, macramé, and elastic cord work. Everything else builds on them. Practice on cheap cord, not your good waxed linen or silk thread. Your first 50 square knots will look rough. Your next 50 will look clean. That’s how it works.
For finishing, hypo cement is worth every penny. It dries clear, bonds fast, and doesn’t stiffen the cord the way super glue does. Pair it with a crimp tube on macramé work and you have a bracelet that holds up to daily wear. You can find more on caring for finished pieces at Jewelsbyares jewelry care.
— Danielius
Handcrafted string bracelets from Jewelsbyares
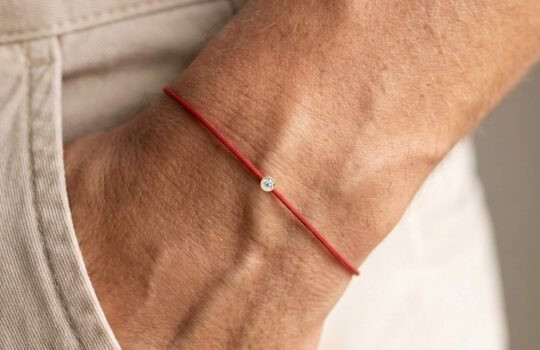
If you love the craft but also want a finished piece that reflects serious artisan skill, Jewelsbyares builds pulseras de hilo de diamantes that combine certified diamonds with delicate string settings. Each bracelet uses the same knotting and finishing principles covered in this guide, executed at a level that takes years to develop. The collection spans minimalist single-strand styles to layered woven designs, all made with ethically sourced materials and gift-ready packaging. Whether you’re treating yourself or finding a meaningful gift, Jewelsbyares offers pieces that carry real craft behind every knot. You can also read more about what makes these bracelets special before you shop.
PREGUNTAS FRECUENTES
What is the strongest knot for handmade bracelets?
The surgeon’s knot is the strongest option for elastic cord bracelets because its double-pass structure resists the rotational forces that cause standard overhand knots to unwind. For macramé and Shamballa styles, the square knot provides the best combination of strength and visual consistency.
What materials do I need to start making handcrafted bracelets?
Embroidery floss, waxed cord, and elastic cord cover the three most popular bracelet types. You also need scissors, a working board with clips, and hypo cement glue for finishing.
Why does knotting technique matter for bracelet durability?
Knot choice must match the cord material. Elastic cord requires knots that resist rotational forces, while macramé cord needs knots that hold under tension without slipping. The wrong knot on the wrong cord causes premature breakage regardless of how neatly it is tied.
What is artisan bracelet finishing?
Artisan bracelet finishing refers to the final steps that seal, secure, and clean up a handmade bracelet after knotting is complete. This includes applying adhesive, crimping cord ends, trimming excess material, and hiding knots inside bead holes for a professional result.
How do I stiffen a cord bracelet to hold its shape?
Apply a thin layer of fabric stiffener or diluted PVA glue to the finished bracelet and allow it to dry flat. For waxed cord bracelets, the wax coating already provides light structure. Wire-based bracelets hold their shape without any additional treatment.